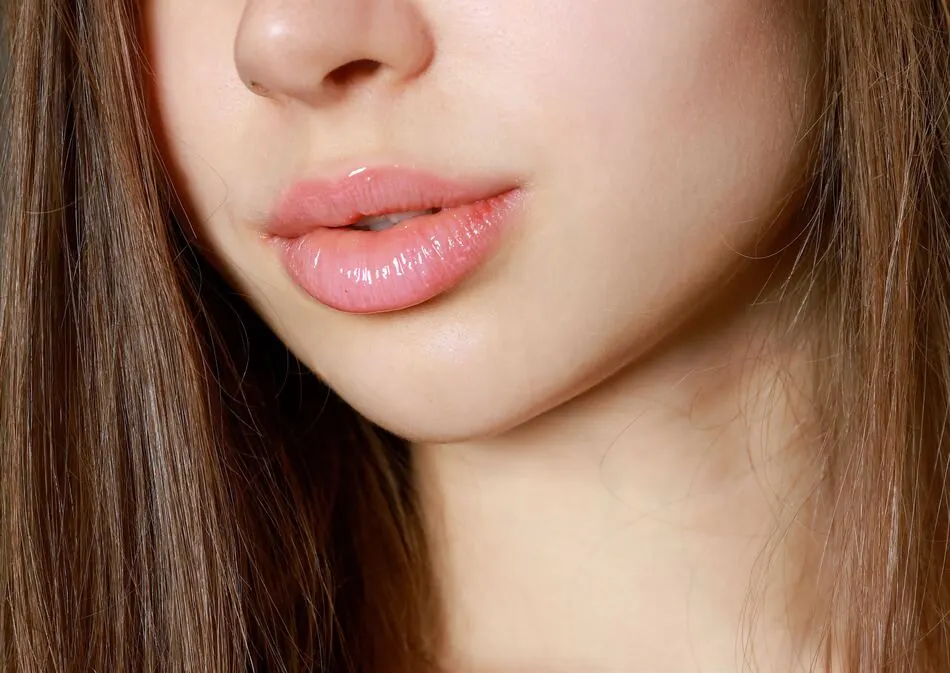
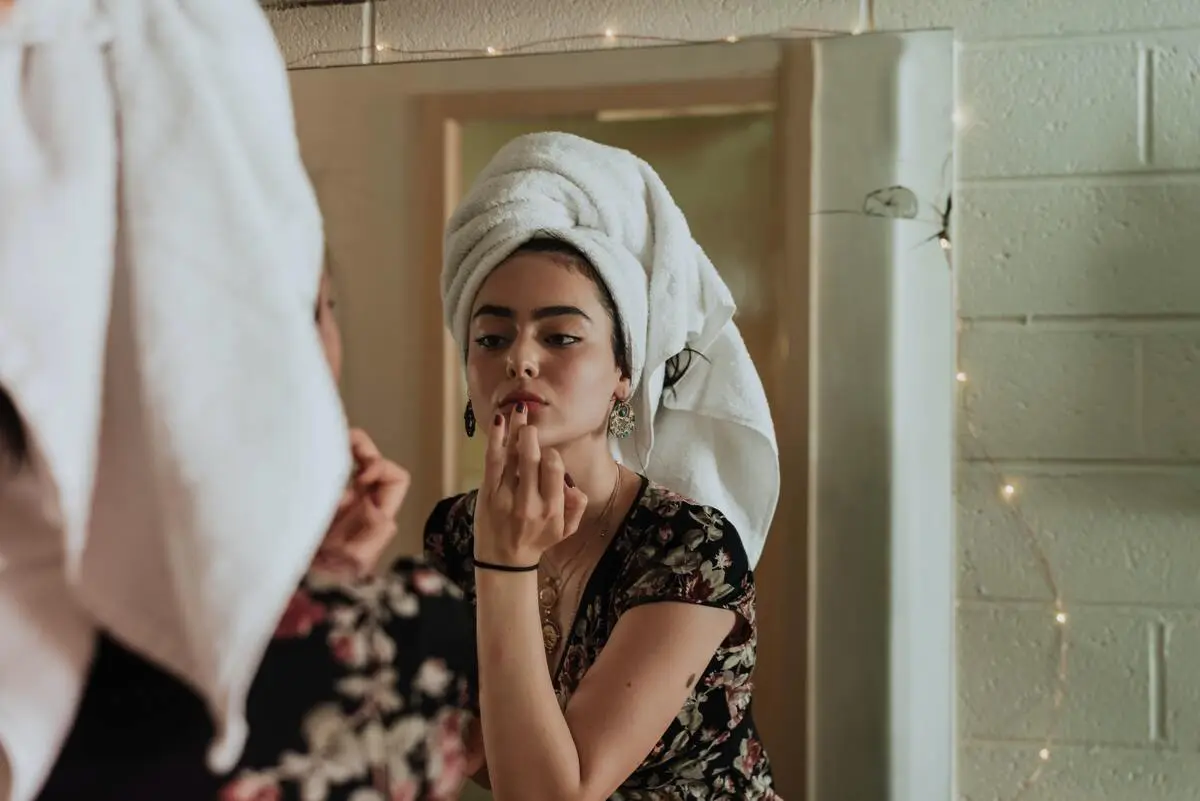
How to lighten dark lips in pink
Lighten dark lips: Smoking can affect a person in many ways over time. Tobacco addiction affects you from many diseases to the skin in many ways. Thus, if you smoke…
Lighten dark lips: Smoking can affect a person in many ways over time. Tobacco addiction affects you from many diseases to the skin in many ways. Thus, if you smoke…
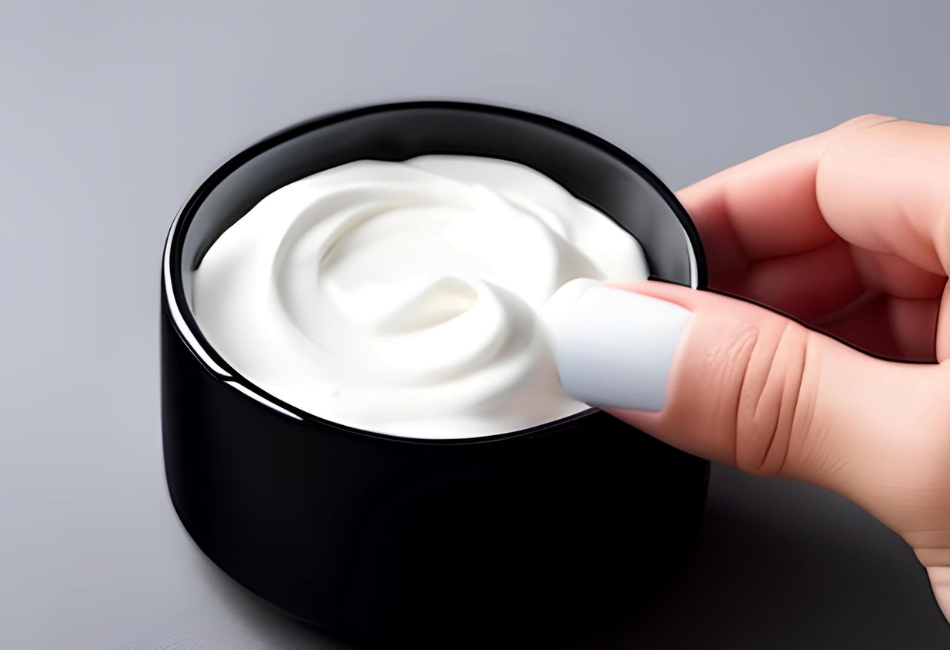
Homemade Sour Milk Water Face Serum: The skin needs special care in the rainy season. We tried several home remedies to take care of it. Natural products do not harm…

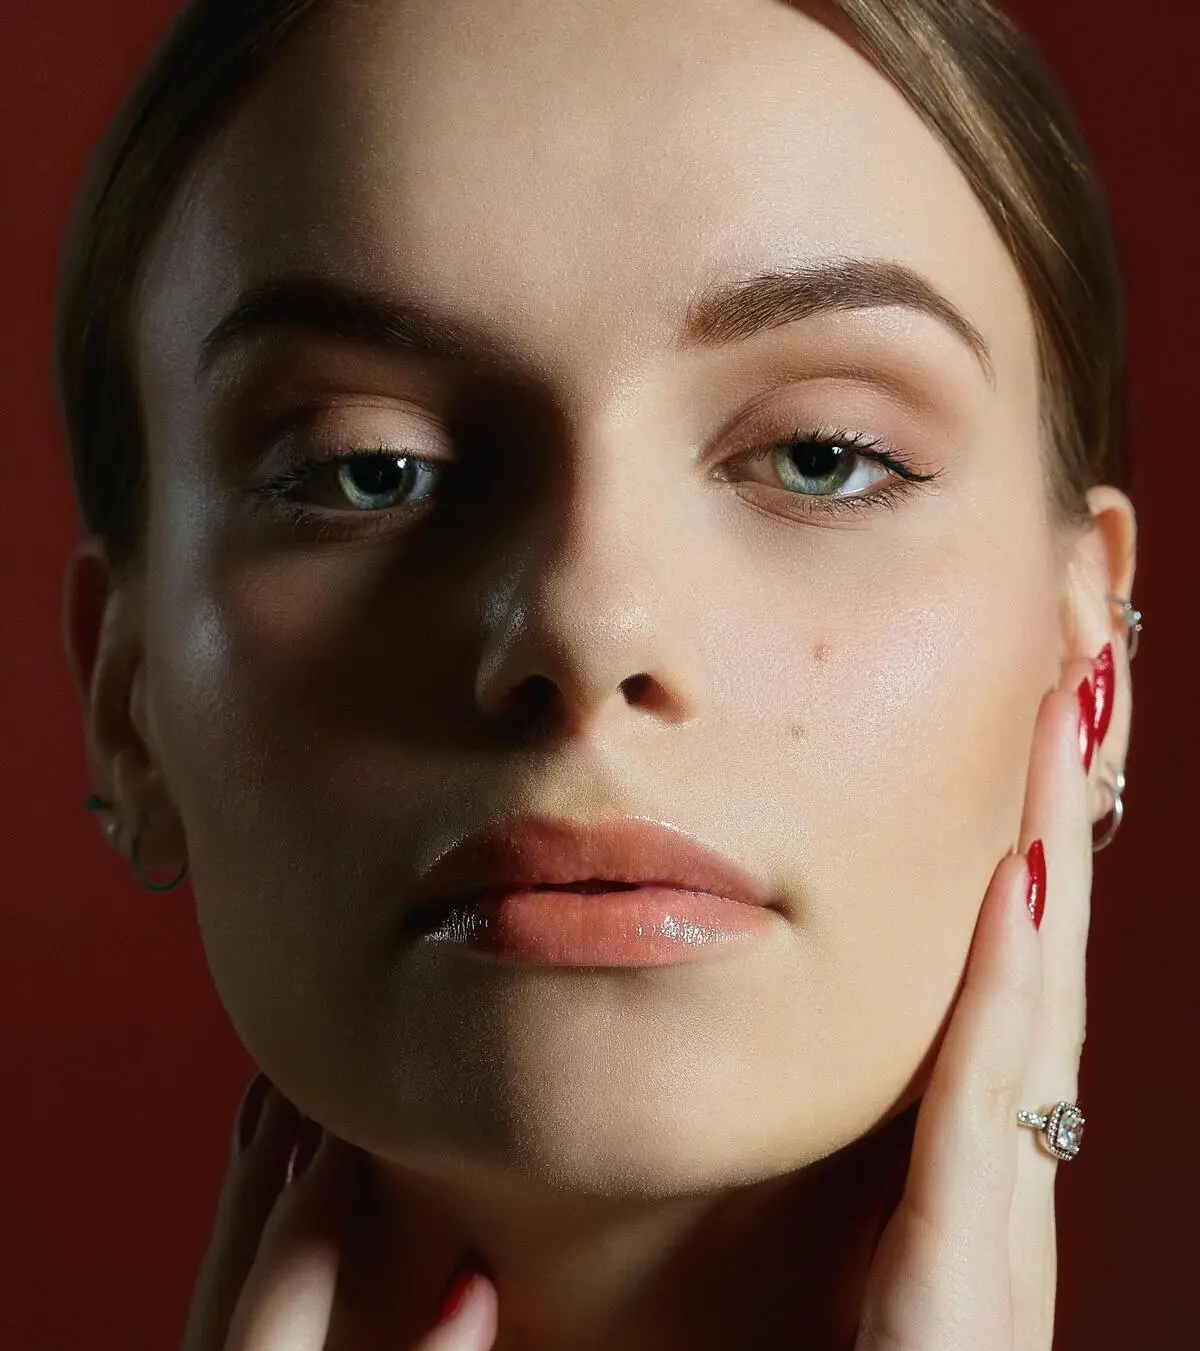
Are you looking to enhance your skincare routine and achieve youthful, radiant skin? Look no further than the best retinol night cream. This powerful skincare product has gained immense popularity…

“Harness the Power of Simplicity: 5 DIY Beauty Hacks Using a Single Ingredient” Image: [Insert relevant image related to the featured ingredient] Introduction:When it comes to achieving a natural and…
Hey there, folks! We all desire that radiant and glowing skin, don’t we? Well, the good news is you can achieve it without breaking the bank or subjecting your precious…
As we age, our skin loses moisture and elasticity, leading to dryness and fine lines. Adding a Vitamin C Serums to your skincare routine can help to hydrate and brighten…
Skincare Routine and Some Product Recommendations For Each Step if you buy a product I earn a commission if you want to buy the product link in the down below…

Sure, here’s a Beginner-friendly nighttime skincare routine with product recommendations: Step 1: Cleanse Step 2: Tone Step 3: Treatments Step 4: Eye Cream Step 5: Moisturize Step 6: Facial oil…

4 Incredible Skincare Holiday Gifts We’re Freaking Out Over Products You’ll Wish You Discovered Sooner Worth Adding to Your Skin Care Routine To combat acne, dark spots, wrinkles, and more.…
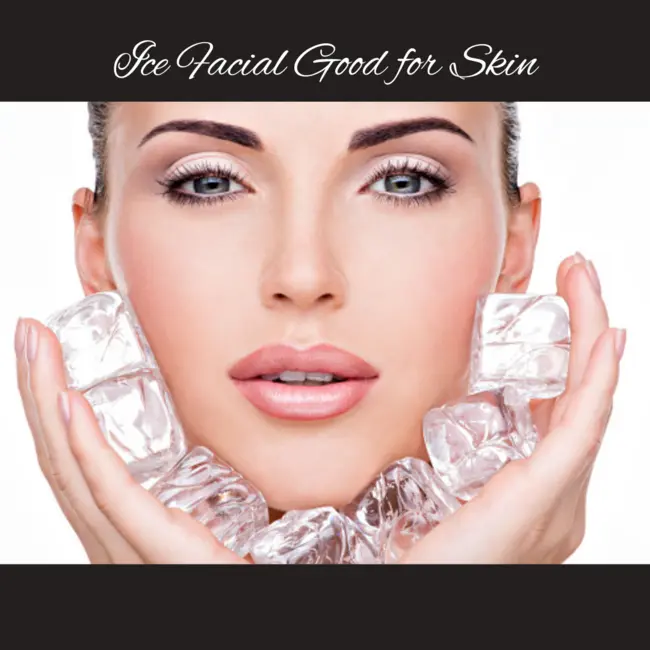
Ice Facial Good for Skin and Icing your face has its advantages. Ice Facial Good for Skin Excellence industry specialists have utilized ice blocks from here onward, indefinitely quite a…